₹7,799.00 Original price was: ₹7,799.00.₹4,999.00Current price is: ₹4,999.00. inc. Gst
Product Overview
| Brand | DJI |
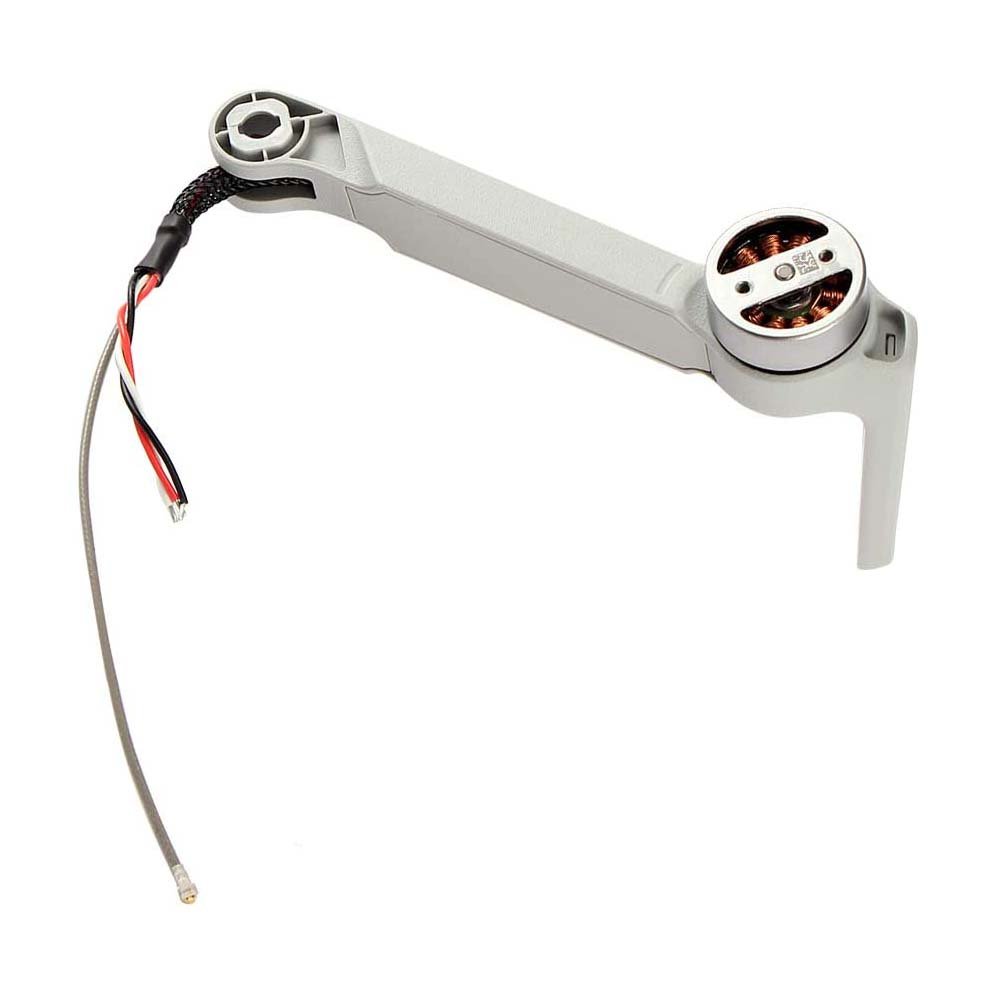
| Model | Mini 2 Front Right Arm with Motor |
| Product Type | Replacement arm with pre-installed motor |
| Compatibility | DJI Mini 2 |
| Material | High-strength plastic with integrated copper motor coil |
| Motor Type | Brushless DC motor |
| Installation | Requires precision tools and soldering for installation |
| Weight | Approx. 15 grams |
| Position | Front Right arm of the drone |
| Use Case | Replacing a damaged or non-functional arm or motor |
In stock
The DJI Mini 2 Front Right Arm With Motor is a complete replacement part that comes fully equipped with both the structural arm and the pre-installed motor. Whether your drone has suffered an unfortunate crash, the motor has burnt out after extended use, or the arm simply snapped under pressure, this unit gives you a one-stop solution. Designed specifically for the DJI Mini 2, it fits like the original, functions exactly as expected, and saves you from the hassle of trial-and-error repairs. Ideal for those who want to restore performance without investing in a full drone or waiting for service center delays.
The front right arm is not just a piece of plastic; it’s a major structural and functional component of your drone’s flight dynamics. It holds one of the four motors that generate lift, and when even one motor fails, your drone loses its ability to stay level, causing wobbling, tilting, or outright crashing. A damaged front right arm compromises stability, coordination, and thrust, which can even damage other parts due to uneven flight stress. Replacing this arm restores full lifting power and puts your Mini 2 back in perfect sync with all motors, giving you the smooth, controlled flight it was built for.
This replacement part is specially assembled with the motor already integrated into the arm, so there’s no need to worry about handling delicate wires, figuring out polarity, or damaging tiny solder points. For most drone owners, electrical soldering is intimidating, but with this unit, you skip that entire process. All you have to do is plug in the motor wires using the same color-coded terminals and fix the arm in place with screws. It simplifies the entire repair process to under 30 minutes, whether you’re a seasoned repairer or a first-time fixer.
One of the Mini 2’s best features is its ultra-lightweight design that keeps it under the 249-gram threshold, sparing users from drone registration in many countries. This replacement arm respects that feature by using high-tensile yet featherlight materials that maintain your drone’s original weight class. Despite being light, it doesn’t sacrifice durability—it’s strong enough to survive wind resistance, high-speed spins, and the occasional hard landing. The motor is also finely tuned to deliver consistent thrust, maintaining your drone’s agility and control as if nothing ever happened.
The arm is crafted with meticulous attention to detail so it aligns with DJI Mini 2’s original chassis like a puzzle piece. It includes pre-drilled holes, accurate mounting points, and wire paths that make it easy to insert and secure without needing any adjustment or modification. The snug fit ensures that everything stays firm during high-speed flights, with no rattles, gaps, or loose connections. Even the motor wire length is trimmed precisely, so there’s no risk of slack interfering with other internal components or obstructing propeller movement.
Crashing your Mini 2 doesn’t mean it’s game over. With this specific arm, you only replace the damaged section rather than investing in an entire new drone or paying thousands for full-body repairs. It’s an affordable and efficient way to get your drone back in the air, especially if the rest of your aircraft is perfectly functional. Plus, you don’t need to wait for service slots or ship your drone out of town. Do it at home, do it fast, and keep flying without putting a dent in your pocket.
Power off your DJI Mini 2 completely and remove the battery to avoid electric shock or internal short-circuits.
Unscrew the shell and gently lift the top casing to access the internal wiring and motor mount.
Disconnect the wires connecting the old arm to the motherboard and remove the damaged arm carefully.
Install the new front right arm by aligning its mounting holes, reconnecting the motor wires, and screwing it into place.
Reassemble the drone, run a motor test, and ensure the arm moves freely before taking off for your next flight.
Gently wipe the plastic arm with a microfiber cloth to remove dust, dirt, or oil marks without scratching the surface.
Use a soft-bristle brush or compressed air to clear any sand or debris stuck around the motor’s open slots or wiring path.
Do not use water, cleaning sprays, or alcohol directly on the motor section as it may corrode the internal windings or bearings.
If deeper cleaning is needed, detach the arm and clean only the plastic exterior while keeping the motor area dry.
Make cleaning a regular part of maintenance to avoid performance drops due to clogged vents or sticky grime.
After each flight session, especially in sandy or humid environments, check the arm for cracks, motor burn marks, or unusual sounds.
Always store your drone in a well-padded case to prevent pressure or accidental bends on the arms during travel or storage.
Avoid flying in environments with low visibility or confined spaces, as accidental bumps can stress the motor mount.
Don’t twist or apply sideways force on the arm when removing or handling the drone, as it could weaken the joints or wire base.
Perform a motor test before every long-distance flight to make sure this arm’s motor is working at full power with no hesitation or delay.
Do:
Replace the front right arm immediately if it shows signs of a weak motor, cracks, or poor connection during pre-flight checks.
Handle all internal connections carefully during installation to avoid damaging the motherboard or ribbon cables.
Match the motor’s rotation direction and wiring orientation with the original setup for smooth performance.
Keep spare screws and small parts organized during replacement to prevent misplacement or errors.
Watch online tutorials or refer to DJI teardown guides if you’re unsure about the replacement process.
Don’t:
Don’t attempt to repair a cracked arm using glue, tape, or zip ties—they will fail mid-flight and could risk a crash.
Don’t confuse the front right arm with the left or rear arms—each has a different orientation and motor type.
Don’t force the motor wires into tight corners—they can snap or disconnect during flight due to vibration.
Don’t touch the motor shaft with oily or dirty hands—it may cause imbalance or attract dirt during rotation.
Don’t ignore buzzing sounds or motor hesitation—it’s often the first sign of a faulty arm or failing motor.
With the DJI Mini 2 Front Right Arm With Motor, you’re not just fixing a broken piece—you’re reviving your drone’s flight experience without spending a fortune. It brings your drone back to life with a reliable motor, a structurally sound arm, and a flawless fit that ensures top-tier performance. Whether you’re flying for fun, content creation, or professional work, this part gives you the confidence to soar again. Don’t let a crash clip your wings—replace the arm and reclaim the sky.
Yes, it is an authentic OEM replacement arm including the motor for the DJI Mini 2.
It is the front right arm when viewing the drone from the rear (with camera facing forward).
It includes the arm, motor, and wiring, but propellers are not included.
No, it is specifically for DJI Mini 2 and may not fit other models due to design differences.
Installation requires basic drone repair skills and tools; professional help is recommended if you're not experienced.
| Specification | Details |
|---|---|
| Brand | DJI |
| Model | Mini 2 Front Right Arm with Motor |
| Product Category | Drone Arm Spare Part |
| Product Type | Arm with factory-attached brushless motor |
| Compatibility | Exclusively compatible with DJI Mini 2 |
| Material | High-durability plastic with embedded motor housing |
| Motor Configuration | Brushless DC motor with optimized power output |
| Installation Requirements | Requires professional tools and soldering expertise |
| Mounting Design | Precision-fit molded arm with motor screws and wire connectors |
| Position on Drone | Front right side (as per drone orientation) |
| Condition | Brand new and unused, original equipment |
| Packaging | Single arm with motor, sealed in anti-static packaging |
| Total Weight | Approx. 15 grams (including motor) |
| Dimensions | Designed as per DJI Mini 2 structural layout |
| Color | Standard DJI Grey |
| Heat Resistance | Motor casing designed to withstand moderate thermal loads |
| Signal Wires Included | Yes, includes motor signal and power wires |
| Application | Ideal for drone crash repairs or arm breakage replacement |
| Certification | OEM part, quality tested |

In stock
Add to cart
In stock
Add to cart
In stock
Add to cart
In stock
Add to cart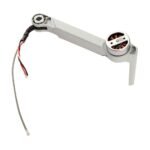
Reviews
There are no reviews yet.