₹4,199.00 Original price was: ₹4,199.00.₹3,999.00Current price is: ₹3,999.00. inc. Gst
Product Overview
| Brand | DJI (OEM) |
| Model | Rear Left Arm Module |
| Product Type | Replacement Arm with Integrated Motor |
| Compatibility | DJI Mavic Mini |
| Material | High-strength plastic with metal components |
| Motor Included | Yes |
| Installation | Requires precision tools and professional skills |
| Condition | New, original replacement part |
| Package Includes | 1 x Rear Left Arm Module with Motor |
| Weight | Approximately 15 grams |
In stock
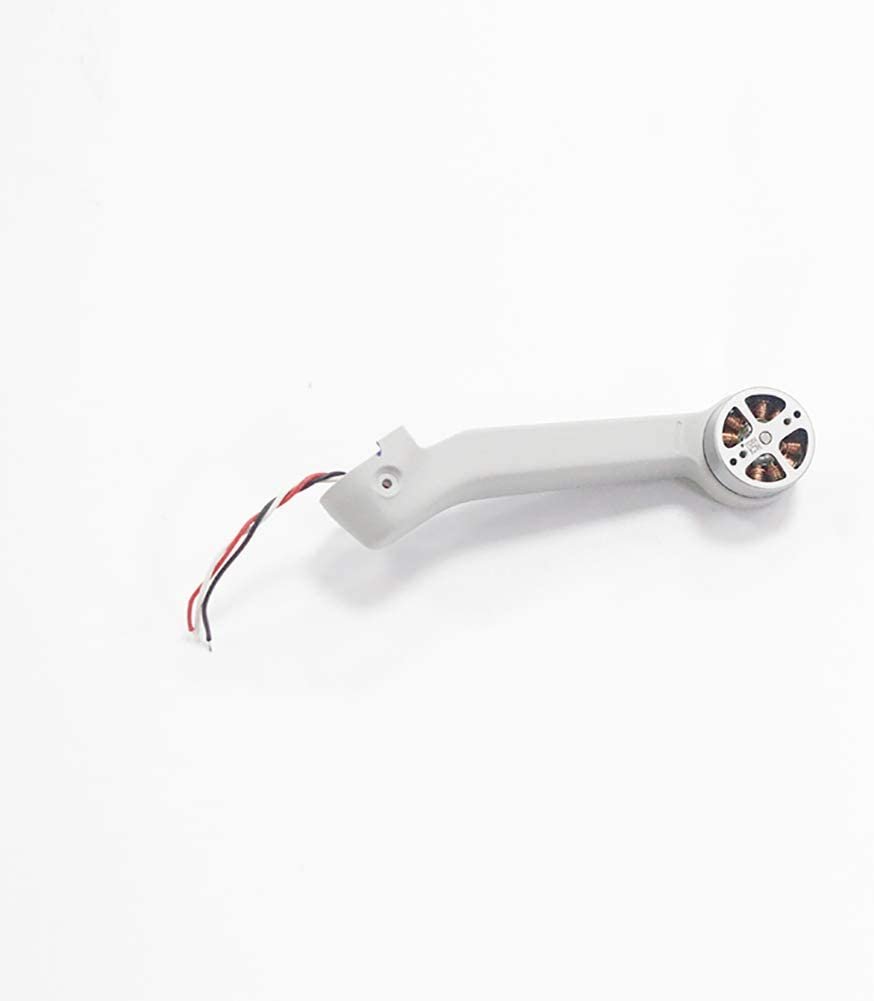
The DJI Mavic Mini Rear Left Arm is an essential spare part designed specifically to replace the left-side rear arm of your drone. It includes the arm structure, pre-attached motor, and pre-soldered wiring for easy installation. If your Mavic Mini has suffered a crash, motor damage, or arm deformation, this part helps you get it back in the air without needing to buy a new drone. It brings back perfect motor balance, proper structural integrity, and full functionality to your drone, all while maintaining its ultra-lightweight and compact form. Whether you’re a beginner or an experienced drone pilot, this part makes the repair process much easier and more reliable, helping you fly again confidently.
One of the best features of this arm is that it comes with the motor already fixed in place from the factory. You don’t have to remove your old motor or deal with delicate soldering, which can be risky if you’re not skilled with tools. This ready-to-install design saves a lot of time and gives you peace of mind because the motor and wires are already attached correctly. Just connect the motor cable to the flight controller, and you’re good to go. This makes it an ideal solution even for beginners who want to repair their drone themselves without depending on a technician.
When a drone arm is slightly damaged or the motor doesn’t work well, the entire drone loses its balance in the air. It may tilt, drift, or vibrate while hovering. Replacing the damaged arm with this original DJI part helps the drone recover full motor strength and balance. This means the drone can stay level during flight, perform clean turns, and land safely. It prevents your drone from tilting in one direction or acting unpredictably during windy conditions or sudden altitude changes, giving you better control and safer flight experiences.
Even though this arm is a replacement part, it’s made from the same high-quality lightweight plastic used in the original Mavic Mini. It ensures that your drone still stays under the 250g legal limit for registration-free flying in many countries. The material is engineered to be durable, yet flexible enough to absorb minor shocks during flight or landing. Its smooth, aerodynamic design reduces air resistance and keeps your drone’s movement sharp and stable, just like it was when it came out of the box.
This is not a generic arm – it’s specially made to fit the rear left corner of the Mavic Mini drone. The motor angle, wire length, screw holes, and shape all match the drone’s frame exactly. That means no guessing, trimming, or forcing things into place. You don’t have to modify anything, which helps preserve the drone’s structure and ensures a tight, professional repair. Once installed, the arm will look and work like the original part, with no differences in fit or finish.
If your drone starts spinning uncontrollably, doesn’t lift off smoothly, or one of the motors refuses to start, the rear left arm might be the problem. Replacing it with this part brings full power and balance back to that corner, fixing problems like tilted flight, unexpected drifting, and uneven motor spin. It also helps fix issues that cause shaky take-offs and unsafe landings. Instead of struggling with unstable flights or limited performance, this arm gives you a quick and reliable fix.
First, remove the battery and power off the drone to avoid any shock or short circuit during the repair.
Open the drone shell using a set of precision screwdrivers, making sure not to damage the plastic.
Locate the rear left arm inside the shell and carefully unplug its motor wires from the main board.
Unscrew and detach the old or damaged arm, then insert the new one into the same position.
Reconnect the motor wires, screw the new arm tightly in place, and close the drone shell securely.
Before flying, power on the drone and check if the motor spins correctly by testing in a safe space.
Use a dry, clean microfiber cloth to gently wipe off any dust, smudges, or mud from the arm.
Do not apply water directly to the motor or wiring to avoid internal damage or corrosion.
Use compressed air in short bursts to clean around the motor opening and joints.
If dirt is stuck inside the joints or motor holes, gently clean it using a soft-bristled brush.
Clean the arm regularly, especially after flying near sand, water, or dust to ensure long-term use.
Always unfold the arms gently and avoid twisting or putting pressure on the corners.
After every few flights, inspect each arm for any minor cracks or loose screws to prevent future damage.
Do not store your drone in tight or overstuffed bags that may bend or push against the arms.
Avoid flying your drone in areas full of tree branches, tight indoor spaces, or strong wind zones.
Use a proper drone case or hard-shell bag to protect the arms and motor from accidental hits.
Do:
Replace the arm immediately if you notice reduced power, unusual sounds, or a wobbly motor.
Always use original DJI parts to ensure long-term reliability and a proper fit.
Follow a YouTube repair guide or user manual to avoid making mistakes during installation.
Test the motor performance in low-altitude mode before flying in higher altitudes.
Check your drone’s balance and calibration after any arm replacement for better flight control.
Don’t:
Don’t try to interchange right and left arms—they’re not shaped the same and won’t fit properly.
Don’t use force while removing or installing the new arm—it can damage the drone frame.
Don’t fly the drone if the motor doesn’t spin smoothly or makes strange noises after installation.
Don’t ignore small cracks or loose parts—they can lead to bigger problems or crashes later.
Don’t expose the drone to rain or moisture after a new arm installation until you’ve tested it fully.
The DJI Mavic Mini Rear Left Arm with motor is the perfect replacement part to bring your drone back to life after damage or wear. It’s lightweight, strong, perfectly designed for the Mavic Mini, and easy to install. Whether you’re repairing your drone for the first time or maintaining it like a pro, this part helps you achieve safe, balanced, and smooth flight performance again without any worries. If your drone can’t fly straight, spins strangely, or shows motor issues, this is the fix you need.
Yes, exclusively for the original Mavic Mini's rear left position. Not for Mini 2 or Mini SE.
Yes, it comes with a pre-installed brushless motor and wiring.
It resolves tilting, drifting, vibration, or reduced power in the rear left side.
It is plug-and-play with pre-installed motor, but requires precision tools.
No, it is lightweight and keeps the drone under 250g.
| Specification | Details |
|---|---|
| Brand | DJI |
| Model | Rear Left Arm Module |
| Product Type | Replacement Arm with Integrated Motor |
| Compatibility | Specifically designed for DJI Mavic Mini |
| Material | Constructed from high-strength plastic with metal components for durability |
| Motor Included | Yes, pre-installed brushless motor |
| Installation Requirements | Requires precision tools and professional skills for installation |
| Condition | New, original replacement part |
| Package Includes | 1 x Rear Left Arm Module with Motor |
| Weight | Approximately 15 grams |
| Dimensions | Standard length and width as per the DJI Mavic Mini specifications |
| Features | Ensures optimal performance and flight stability |
| Usage Recommendations | Ideal for replacing damaged or worn-out rear left arm modules |
| Notes | Not compatible with DJI Mini 2 or Mini SE models; ensure correct model before purchasing |

In stock
Add to cart
In stock
Add to cart
In stock
Add to cart
In stock
Add to cart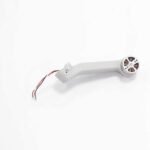
Reviews
There are no reviews yet.